
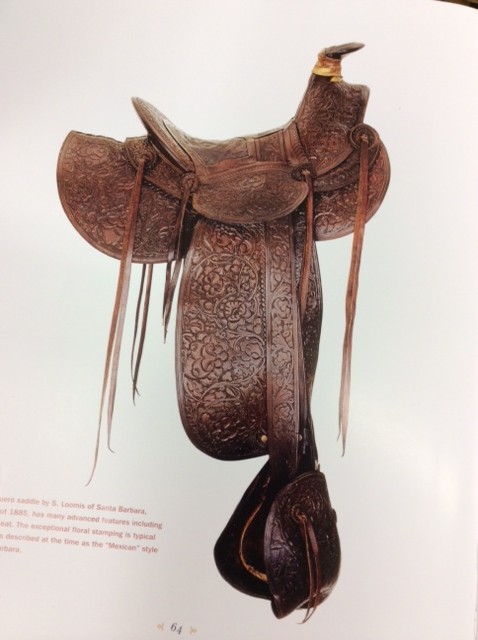
Before I go any further on the development of this saddle I should show a picture of the saddle I am using as a model. Again this saddle was built by the Sherman Loomis Saddle Company out of Santa Barbara, CA. It is estimated to have been built around 1885. I am not attempting to duplicate this saddle but to create something with similar characteristics while at the same time adding my own ideas and features.

Having determined the position of the rigging and the fit of it around the cantle back, the next step was to cut my skirt overlay. Once designed with the lines I was seeking the next task was to design the floral carving for these pieces and get them carved.
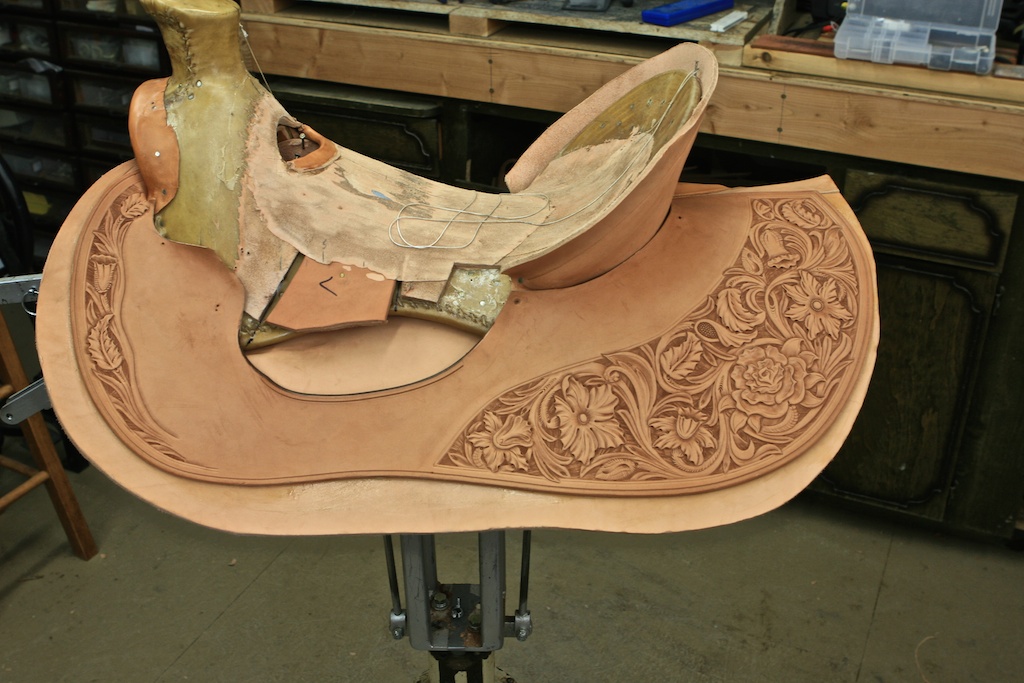
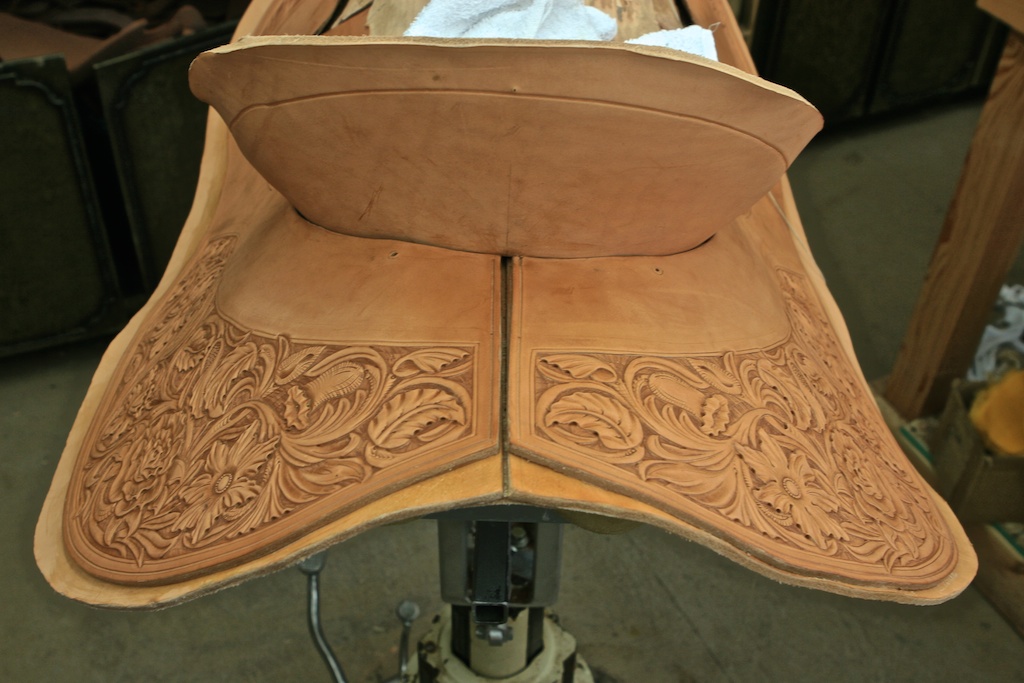
Once these overlays were carved it was then possible to glue them to the main skirt bodies. I temporarily placed the rigging back on the saddle to make sure everything still fit well. Sometimes when stamping such large areas the leather can get stretched and may not want to fit as well as originally designed. At that point removing them and preparing them to get lined with wool skin and sewn was the next step. Once sewn the the excess leather on the skirts could be trimmed and the skirts edged and prepped for the leather finish to be applied.
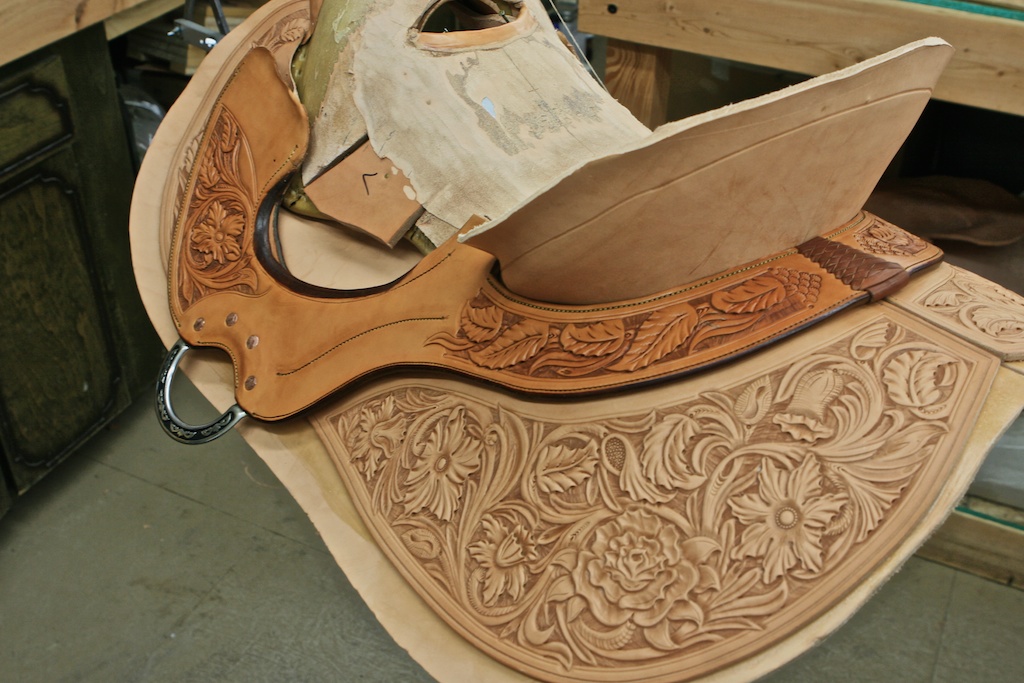

At this point the skirts are laced together in the back and final fitting to tree is checked. Now the skirts are removed and we look to the cantle back which must be designed and carving executed so we can attach it to the tree prior to putting on the skirts and rigging permanently.
